HOW TO: Make a Musical Greeting Card (with sound module)
Personalized musical greeting cards are a sure way to put a smile on someone’s face, or making your partner’s heart skip. In this tutorial we will guide you through how to install your custom sound module into your own custom designed card.
Getting Started
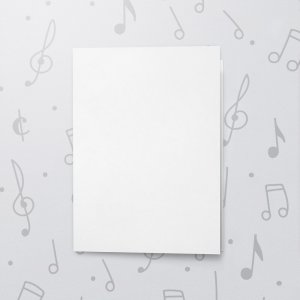
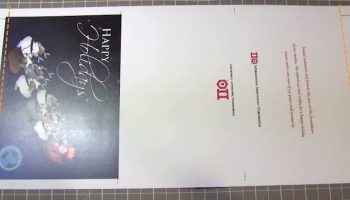
Greeting cards are meant to be special, so the first step is producing your own custom three panel design. This tutorial is designed for 5” by 7” panels; click the button below to download the template and take the first step to producing your own musical greeting card.
Once you have completed the design of the card and have printed you can now begin prepare your card into the final piece. Grab your materials, and get ready to create an amazing product.
What You Will Need:
- A trimming tool such as:
- Exacto Knife
- Scissors
- A Straight Edge
- A Scoring Tool
- Double Sided Tape
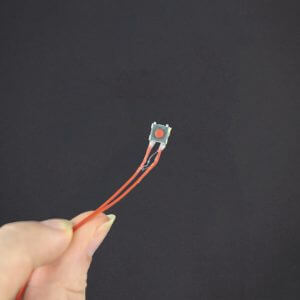
- A Sound Module
Preparing Your Card
Now that you have your beautiful design printed in front of you it will only be a short time before you will have an amazing musical greeting card ready to be delivered.
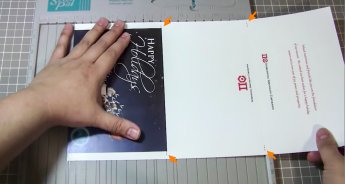
Begin by taking your straight edge and trimming tool, carefully cutting off the white edges around your design.
Note: DO NOT trim off the long sides of your card yet, for you will lose the marks that instruct you where to crease.
Now that the trimming is complete, you must crease your card along the black marks located on the long side of the page.
If you did not place marks along the outside of the design, it is ok! Take a ruler and measure across the measurements of each panel and use a pencil to mark the points to crease.
Proceed to follow the crease, folding over the crease lines inwards to create your card.
Installing the Sound Module
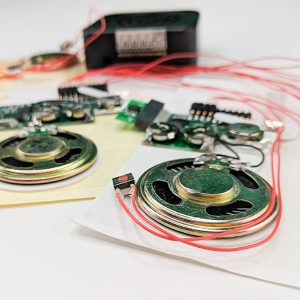
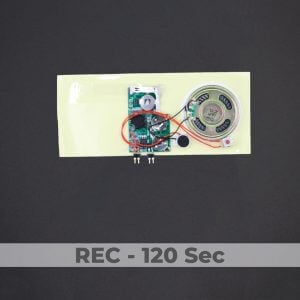
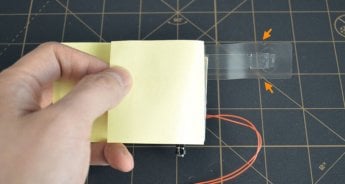
It is now time to install the magical component that will produce sound within your musical greeting card. You first must remove the adhesive backing to the module.
Along the clear plastic strip (sticky section) in the back you will see two triangle notches, as seen to the right.
These two notches are to sit on the crease line on the left side of the inside portion of the card, while the sound module is to be placed onto the module is to be placed in the indicated location of the template
Finishing Up
Once the sound module is installed, you are just a few minutes away from a completed personal musical greeting card.
Grab your double sided adhesive tape, and get ready to seal your card! Along the grey portions indicated in the template, place the double sided tape across, but make sure that you do not use tape in anyway that would cover the module.
When the double sided tape is applied, fold the panel over the sound module, sealing and hiding the module within the card. The last step is to fold over the front of the card, and trim off the excess border along the side of your card.
Congratulations! You have now successfully created your very own musical greeting card. Everytime you open the card, the sound module will play your custom sound or music. Give it to someone special, a family member, a friend, and watch them be in awe of the musical greeting card.
We'd love to see your final product
Have a chance to be featured in our upcoming newsletters and articles! We love hearing about how our happy customers success stories after they see the reactions of the recipients opening and watching their gifts! Send us a link to your pinterest pins with completed projects or share with us your stories at [email protected]!

Shop our already completed cards
Check out our completed cards, designed all in-house by our team!


